

Knowing how to move your backup from one service to another keeps you from starting over. But if you move the wrong way, you can lose the one thing a backup is for: your older versions and deleted files. Here is how to switch step by step, and how to stay safe while you do it.
You may be leaving because of price, space, or speed. Or you may have a new phone or computer. Whatever the reason, the worry is the same: “Will I lose my backup history?”
This guide is for home users. It explains how to move your backup from one service to another in plain steps, with no jargon. If you are still choosing a new provider, read our guide on how to choose the right cloud backup service first. If you are not sure how a backup differs from file syncing, start with cloud backup for beginners.
How we checked this: Rules about backup retention come from each provider’s own help pages, linked below. We only state a rule when an official page supports it, and we label our own advice as a suggestion. Providers change their policies, so open the linked page before you act. Provider details were last checked in November 2026.
Will You Lose Your Backup History When You Switch Services?
Often, yes, at least in part. Your files can move. Your history usually cannot.
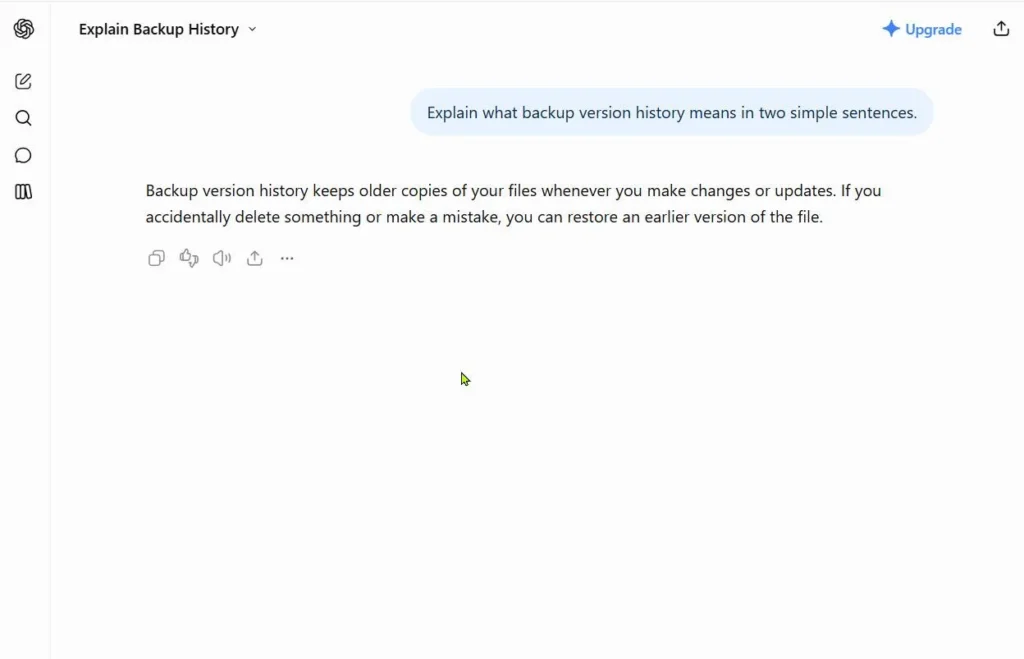
Backup history means the extra copies a service keeps for you:
- Current files: what is on your device today.
- Old versions: earlier copies of a file you have since changed.
- Deleted files: items you removed but can still restore.
- Phone data: app data, settings, and messages.
A new service can back up your current files quickly. Old versions and deleted files are different. They live inside your old provider’s system, and most home services have no way to hand them over to a rival.
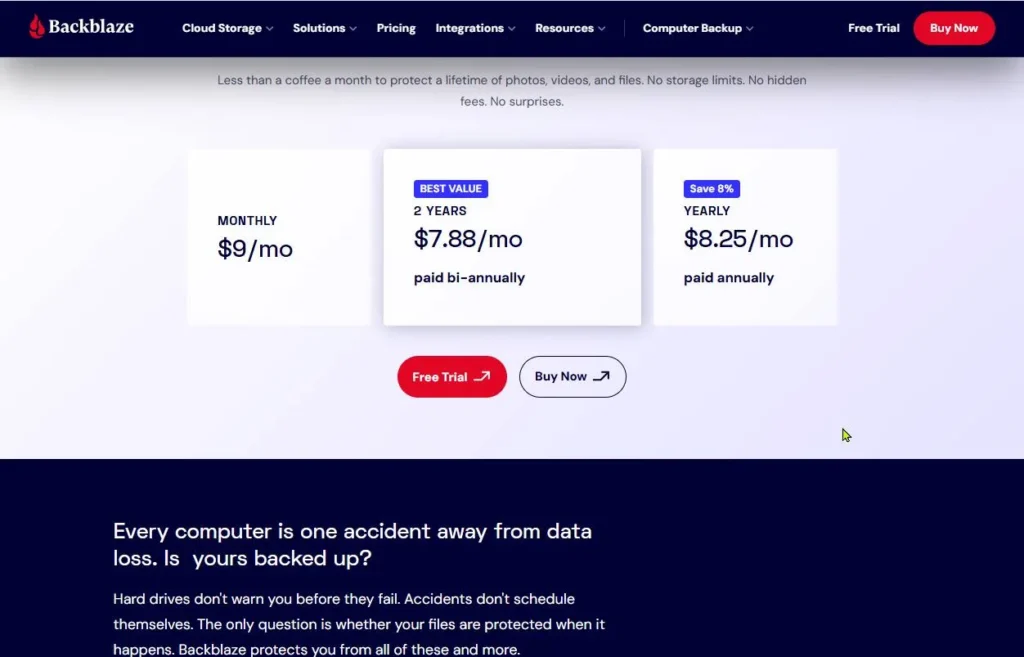
History also has a time limit. For example, Backblaze keeps old versions and deleted files for 30 days by default. Longer options exist, such as one year or forever, and they can cost extra. That means some of your “history” may already be short. Knowing this early helps you plan.
If you want to know how to move your backup from one service to another safely, the rule is simple: keep the old service running until the new one is proven, and save a separate copy of anything you cannot replace. The seven steps below do exactly that.
Step 1: List What You Back Up Today (Files, Photos, Phone)
Before you move anything, write down what your current backup covers. Many people find a surprise here, such as a folder that was never included.
Check each group:
- Files and folders: Documents, Desktop, Downloads, work files.
- Photos and videos: on your computer and on your phone.
- Phone data: app data, contacts, settings, messages.
- External drives: any USB drive you rely on.
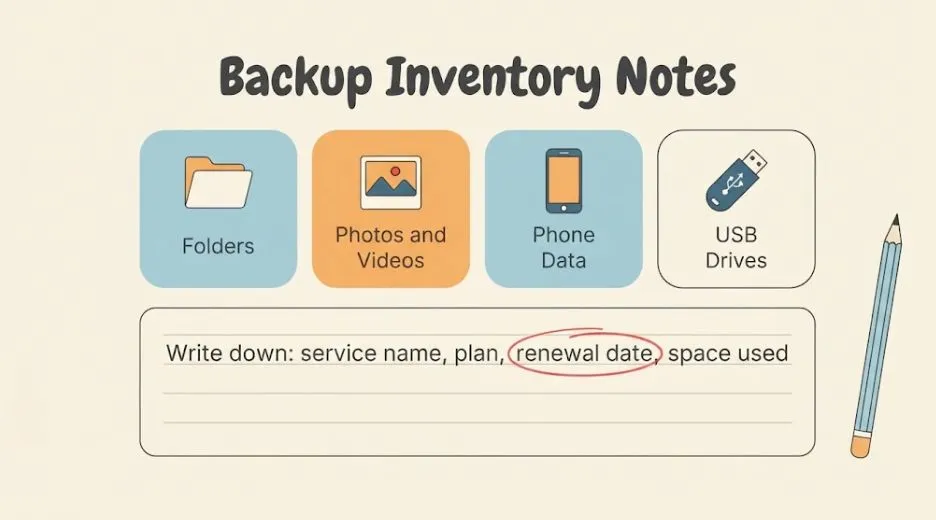
Then note four facts about your old service: its name, your plan, your renewal date, and how much space you use. You will need the renewal date in Step 5. If you are unsure what deserves protection, our guide on what cloud backup can be used for gives a helpful list.
Step 2: Check What Your Old Service Lets You Export or Restore
Now find out what you can actually take with you. Open your old provider’s help pages and look for words like restore, download, export, and retention.
Ask these four questions:
- Can I download all my files? Most services allow this, sometimes in batches.
- Can I download old versions? This is often possible only one file at a time.
- How long do old versions and deleted files stay? This sets your deadline.
- What happens when I cancel? Some data is removed right away. Some stays for a short grace period.
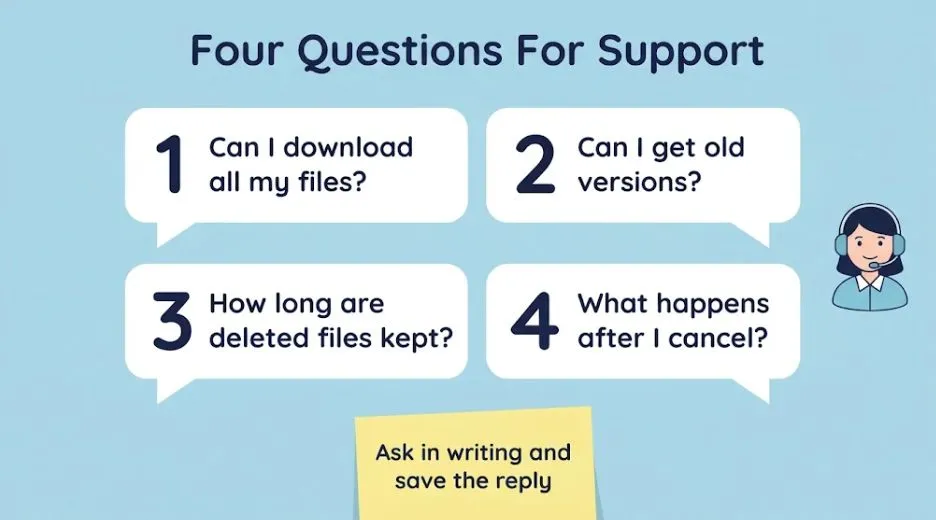
If you cannot find a clear answer, ask support in writing and keep the reply. We cannot tell you what every provider allows, and policies change. A written answer protects you.
Step 3: Make a Safety Copy Before You Move Anything
This is the most important step. Do not rely on one service while you switch.
Copy your must-keep items to an external hard drive. Start with the things you could never recreate: family photos, tax and legal papers, school or work projects. Then open a few files from the drive to confirm they work.
Government security guidance backs this habit. The U.S. cybersecurity agency CISA advises keeping offline, encrypted backups and regularly testing them. It is written for organizations, but the idea works at home too: one copy should sit where nothing online can reach it.
Keep this copy until the very end. Do not delete it after Step 4. It is your safety net until Step 7 is done.
Step 4: Set Up the New Backup Service and Run the First Upload
This is the hands-on part of how to move your backup from one service to another. Create your new account, install the app, and choose the folders from your Step 1 list. If you use Windows 11, our guide to automatic cloud backup on Windows 11 shows how to make it run on its own. For a general walkthrough of uploading, see how to move files to cloud storage.

Then be patient. The first upload is the slowest part. It depends on how much data you have and your upload speed, which is often slower than your download speed.
These are rough best-case times, based on simple math (data size divided by upload speed). Real speeds are usually lower, and some services slow uploads on purpose.
| Data size | Upload speed | Best-case time |
|---|---|---|
| 100 GB | 10 Mbps | About 22 hours |
| 500 GB | 20 Mbps | About 2.3 days |
| 1 TB | 50 Mbps | About 1.9 days |
| 2 TB | 50 Mbps | About 3.7 days |
Leave your computer on and connected. Many apps pause when the computer sleeps. Check the app’s progress screen once a day until it says the first backup is complete.
Step 5: Run Both Services Side by Side (And What It Costs)
Do not cancel the old service yet. Let both run together for a while. This overlap is what keeps your history safe.
As a rule of thumb, keep both for at least two to four weeks, or one full billing cycle. This is our suggestion, not a fixed rule. Stay in overlap until the new service has finished its first backup and passed the test in Step 6.
The cost of overlap is simple: you pay for two services for a short time. To keep it small:
- Look at your old plan’s renewal date from Step 1.
- Start the new service a few weeks before that date.
- Use a free trial, if one is offered, for part of the overlap.
- Turn off auto-renew on the old plan only after you confirm its end date.
Two backup apps on one computer usually work fine. If your computer slows down or your internet struggles, pause one app while the other finishes.
Step 6: Test a Restore From the New Service
A finished upload shows that the files arrived. It does not show that you can get them back. Only a restore test proves that.
Do a small test:
- Pick five files. Choose a document, a photo, a spreadsheet, and two from different folders.
- Restore them to a new folder. Do not overwrite the originals.
- Open each one. Check that it loads and looks right.
- Try one deleted file. Delete a test file, then restore it from the backup.
If you need help with the restore itself, see our guide on how to restore deleted files from cloud backup. If anything fails, you have not lost anything. Your old service and your safety copy are still there. Fix the problem, then test again.
Step 7: Cancel the Old Service Without Losing Your Backup
The last part of how to move your backup from one service to another is canceling the old one. Cancel only when the new backup is complete, your restore test passed, and your safety copy is in place.
Deletion rules differ by provider, so read yours first. Here are two examples from official help pages:
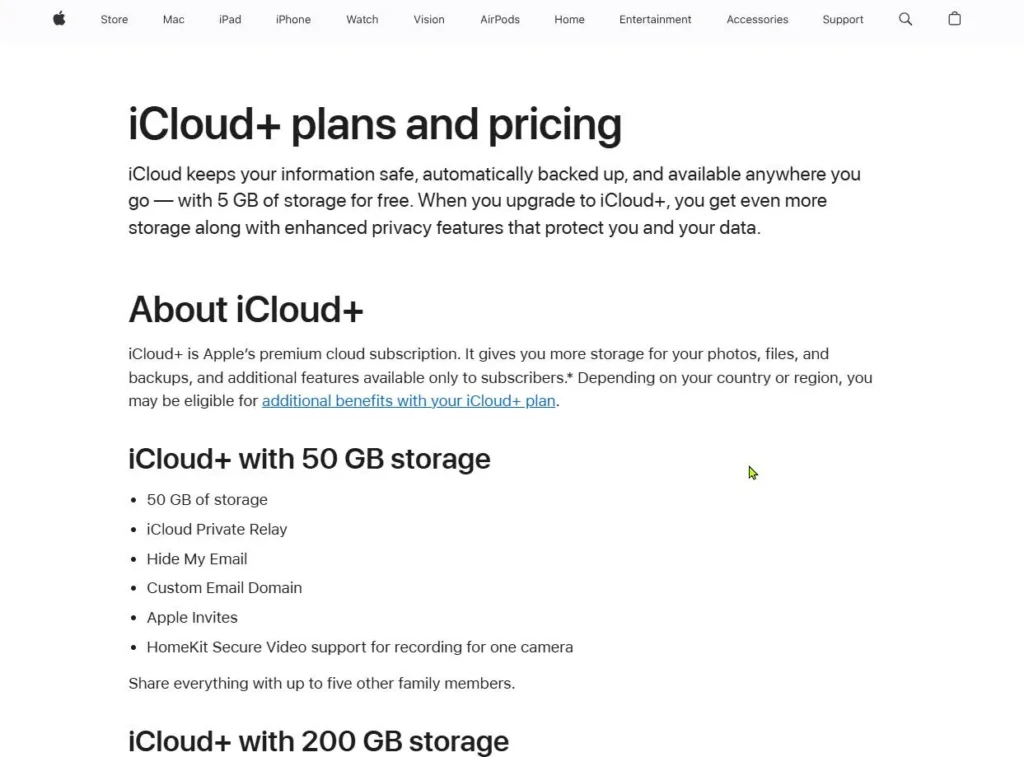
- iCloud: Apple says that if you turn off iCloud Backup for a device, the backups in iCloud are kept for 180 days and then deleted.
- Google (Android): Google says turning off device backup deletes the backups. Photos and videos already saved in Google Photos stay. Data from a device unused for 57 days is also erased, except photos and videos.
Before you cancel, do four things:
- Download anything you still need from old versions.
- Check the cancellation page for the exact deletion date.
- Save the cancellation confirmation email.
- Mark your calendar for one week later, and confirm the new backup is still running.
How to Move Your Backup From One Service to Another on Windows, Mac, iPhone, and Android
The seven steps work everywhere. But each device has its own built-in backup, and each behaves a little differently. This table shows the key points.
| Device | Built-in backup | What to know | Safe move |
|---|---|---|---|
| Windows | Windows Backup (to OneDrive) | Folders and settings are saved to your Microsoft account. | Copy key folders to an external drive, then add the new service. |
| Mac | Time Machine | You can use several backup disks. Each disk saves what changed since it was last used. | Add a new disk. Keep the old disk safe as an archive. |
| iPhone | iCloud Backup | Turning it off starts a 180-day deletion clock. | Make a fresh backup first. Do not turn off the old one early. |
| Android | Backup by Google One | Turning it off deletes backups. Unused devices lose backups after 57 days. | Keep the phone in use and confirm photos are in Google Photos. |
Windows
Microsoft explains that Windows Backup saves your folders and settings to OneDrive, and you restore them by signing in with the same Microsoft account on a new PC. Adding a second backup service does not remove that. Just remember that this backup lives in one account, so protect it with a strong password and two-step sign-in.
Mac
Apple lets you back up to multiple disks with Time Machine. For each disk, it saves what has changed since that disk was last used. The simplest safe path is to set up the new disk, run it for a while, and keep the old disk unplugged and labeled. Your old history stays readable on it.
iPhone and Android
Phone backups have deadlines, as the Step 7 examples show. Do not let an old phone sit unused while it holds your only backup. Restore it to your new phone first, then check that your photos, contacts, and messages are all there.
5 Common Mistakes When Moving a Backup (And How to Avoid Them)
- Canceling on day one. This is the biggest risk. Keep the old service until the new one passes a restore test.
- Turning off a phone backup too early. This can start a deletion timer. Confirm your new backup first.
- Trusting “upload complete.” A finished upload is not proof. Restore a few files to be sure.
- Forgetting external drives. Some services need the drive reconnected on a schedule. Backblaze, for example, needs external drives scanned at least once every 30 days. Check how your new service treats them.
- Losing the password or key. If your new service uses its own encryption password, store it safely. More on this below.
One more point on history. If your new service offers longer version history, turn it on early. Backblaze notes that enabling extended version history does not reach back in time. It only covers versions created after you switch it on.
Keep Your New Backup Safe: 3-2-1 Rule and Encryption Keys
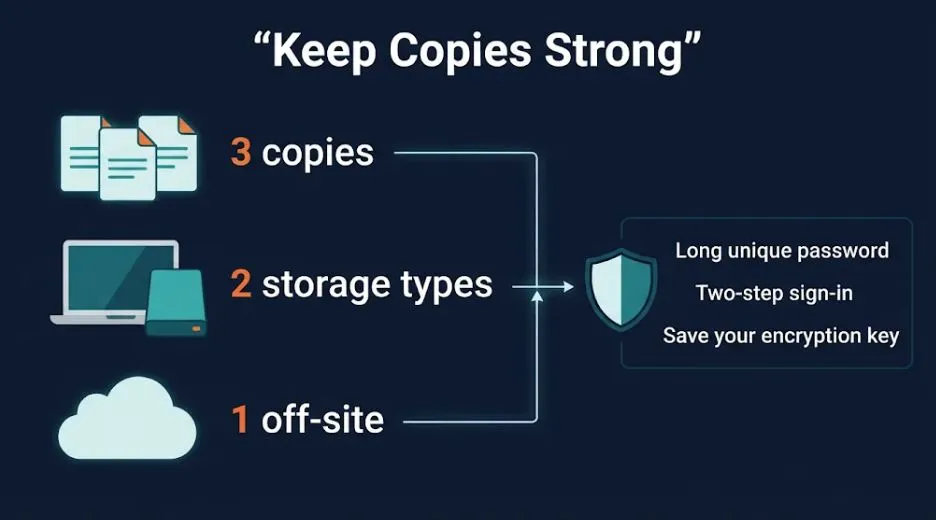
Once you have switched, keep your setup strong. The classic guide is the 3-2-1 rule: three copies of your data, on two kinds of storage, with one copy off-site. Your cloud backup covers the off-site part. Your external drive gives you a second type of storage. Your computer holds the original. Our guide, What Is the 3-2-1 Backup Rule?, explains it in plain steps.
Then protect the account itself:
- Use a long, unique password.
- Turn on two-step sign-in.
- If the service lets you set your own encryption password, save it in a password manager. Without it, the provider may be unable to help you restore.
- Watch for fake “storage full” or “account locked” emails.
For more on keeping an account safe, read cloud storage security: is your data really safe?
Backup Switch Checklist: Are You Ready to Delete the Old One?
Go through this list one last time. If every line is a yes, you know how to move your backup from one service to another without losing data, and you are ready.
- The new service shows a complete first backup.
- Every item from my Step 1 list is included.
- I restored at least five files, and they opened correctly.
- I tested restoring one deleted file.
- I downloaded any old versions I still need.
- My safety copy is on an external drive and opens fine.
- My passwords and keys are saved in a safe place.
- I know the old service’s deletion date.
Frequently Asked Questions
Can I move my backup history to a new service?
Usually not as a whole. Most home services store history in their own format and do not offer a transfer to a competitor. You can move your current files. For older versions, download what you need, or keep the old service until your history is no longer important.
How long should I keep the old backup service after switching?
Our rule of thumb is two to four weeks, or one full billing cycle. Keep it at least until the new backup is complete and a restore test has passed. If your old service keeps versions for a set number of days, you may want to keep it a little longer.
Will I lose my photos if I turn off my phone backup?
It depends on where the photos are stored. Google says photos and videos already saved in Google Photos stay when you turn off device backup. Apple says iCloud Backup holds data that is not already synced to iCloud. Because setups differ, copy your photos to an external drive before you change anything.
How long will the first upload take?
It depends on your data size and upload speed. As a rough best case, 500 GB at 20 Mbps takes about 2.3 days. Real times are often longer. See the table in Step 4 for more examples.
Is it safe to run two backup apps at once?
Usually, yes. It may slow your computer or internet for a while. If that happens, pause one app until the other finishes.
What if my new service cannot import my old backups?
That is common, and it is not a failure. Start fresh on the new service and keep your old data another way: an external drive copy, or the old service until its retention window ends.
Do I need to do this if I only use a sync service like Dropbox or Google Drive?
Sync is not the same as backup, because a deletion can sync everywhere. Moving files between sync services is simpler. Still, make a local copy first. Our guide on cloud backup for beginners explains the difference.
Final Thoughts on How to Move Your Backup From One Service to Another
Now you know how to move your backup from one service to another safely. It works when you go slowly. Your files can move. Your history usually stays behind, so give it time and save what matters. List what you protect, check what your old service allows, make a safety copy, upload, overlap, test, and only then cancel.
Take it one step at a time, and keep your safety copy until the end. For more help with storing and protecting your files, visit our Cloud hub.